How To Make a DIY Timber Grazing Board
Step by step instructions to easily make this DIY Grazing Board.
It's platter season and is there anything more festive than gathering around a table with your friends eating and drinking?
For this week's DIY Project as part of our Christmas Gift Guide Series we thought we'd make a nice BIG Grazing Board that is perfect for those who love to entertain (like us).
We created stands to stack the grazing board on top of to allow styling underneath - because what's a Christmas table without a bit of festive foliage?
This is a beginners project with lots of steps to learn or brush up on woodworking techniques. Easy and affordable to make that produces a really high quality gift that anyone would be stoked to receive.
This one is for our fellow cheese lovers,
Enjoy!
AL + IMO

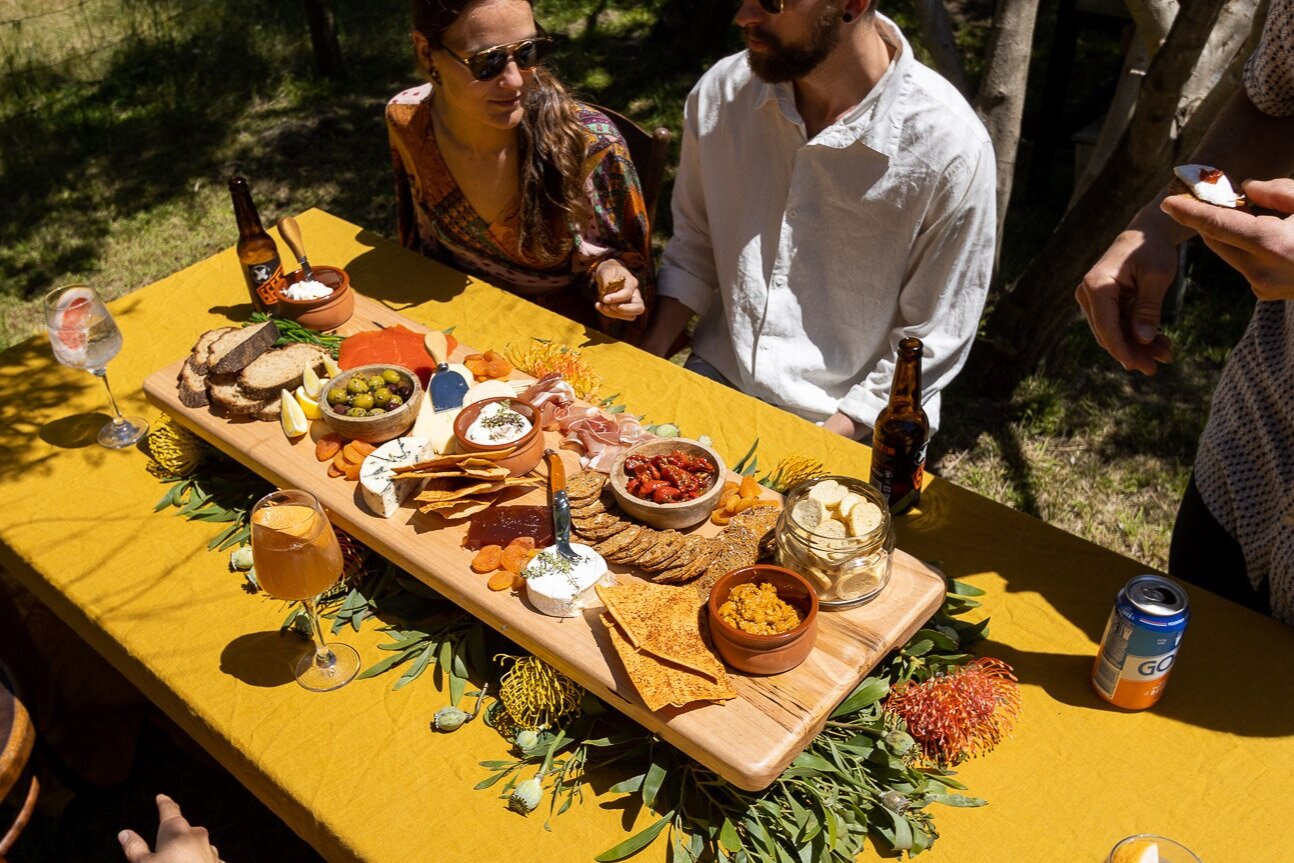

“For this week’s DIY Project as part of our Christmas Gift Guide Series we thought we’d make a nice BIG Grazing Board that is perfect for those who love to entertain (like us). ”
TOOLS
TAPE MEASURE
PENCIL
DROP SAW OR CIRCULAR SAW
JIGSAW
ROUTER
SANDER OR SANDPAPER
CLAMPS
PROTECTIVE GEAR
SAFETY GLASSES
EAR PROTECTION
TIMBER
BOARD
1 X 2000MM X 170MM X 30MM HARDWOOD
Finished Size once joined
1000mm X 340mm x 30mm)
STANDS
1 X 500 X 140mm X 20mm HARDWOOD
1 X 600 X 80mm X 30mm HARDWOOD
Finished sizes once joined
2 X 250mm X 140mm X 20mm
2 X 150mm x 80mm x 60mm
MATERIALS
GLUE NON-TOXIC FOOD SAFE
WE USED TITEBOND III
SEAL - NON-TOXIC FOOD SAFE
WE USED FIDDES HARWAX OIL


step 1.
For this project I used recycled messmate which is an Australian Hardwood for the board and stands.
step 2.
The first thing I did was measure my piece for the board and cut it in half, my piece was just over 2metres so this was perfect as we wanted to make the board 1metre in length. Refer to to the cut list above for the measurements we used - however you can make your board any size you like and continue to follow the steps below.
This is also a great time to cut your stand timbers. For the size of our board you’ll want 2 x 250mm x 140mm for the tops and 4 x 150mm x 80mm x 30mm.
Step 3.
Once cut, I arranged my two pieces of board timbers to get the best looking join and made sure my join would be nice and tight. Once I was happy I glued* and clamped my pieces together, making sure the boards were flush the whole way along. We suggest using a lot of clamps here, alternating them as you work along your piece. I also clamped 2 straight pieces to my piece on both ends to ensure it didn’t twist while drying.
Glue and clamp the 150mm x 80mm x 30mm pieces together to create two 150mm x 80mm x 60mm blocks.
*Make sure you are using a non-toxic food safe glue.
Step 4.
Once dried I removed the clamps and gave the board a good sand with 80g sandpaper, I used my belt sander, but an orbital or hand sand paper would also do fine.
Step 5.
I wanted rounded corners for the board so I used a lid from my glue bottle to trace the pattern on each corner, then using my jigsaw cut the rounded edge.
Step 6.
Next I routed the top edge with my bullnose bit all the way around. Using my own hand for reference I measured and marked 125mm centred on the bottom side of my board for the handle cut-outs. I changed my router to a mushroom bit with a guide to cut my handles.
Step 7.
I used hand sandpaper to sand the handles making sure to remove any burn marks from the router and then gave the whole board a good sand with 120g sandpaper using my orbital sander.
Step 8.
Sand your stand pieces, glue and clamp the base to the centre of the top. Once dry scrape off the the remaining glue with a chisel.
Step 9.
I then sealed everything with satin finish Fiddes Hard Wax Oil which is non-toxic and food safe.
Once dry i gave everything a light sand with 240grit and did a second coat, this gives it a really silky smooth finish.
More Home Styling Tips

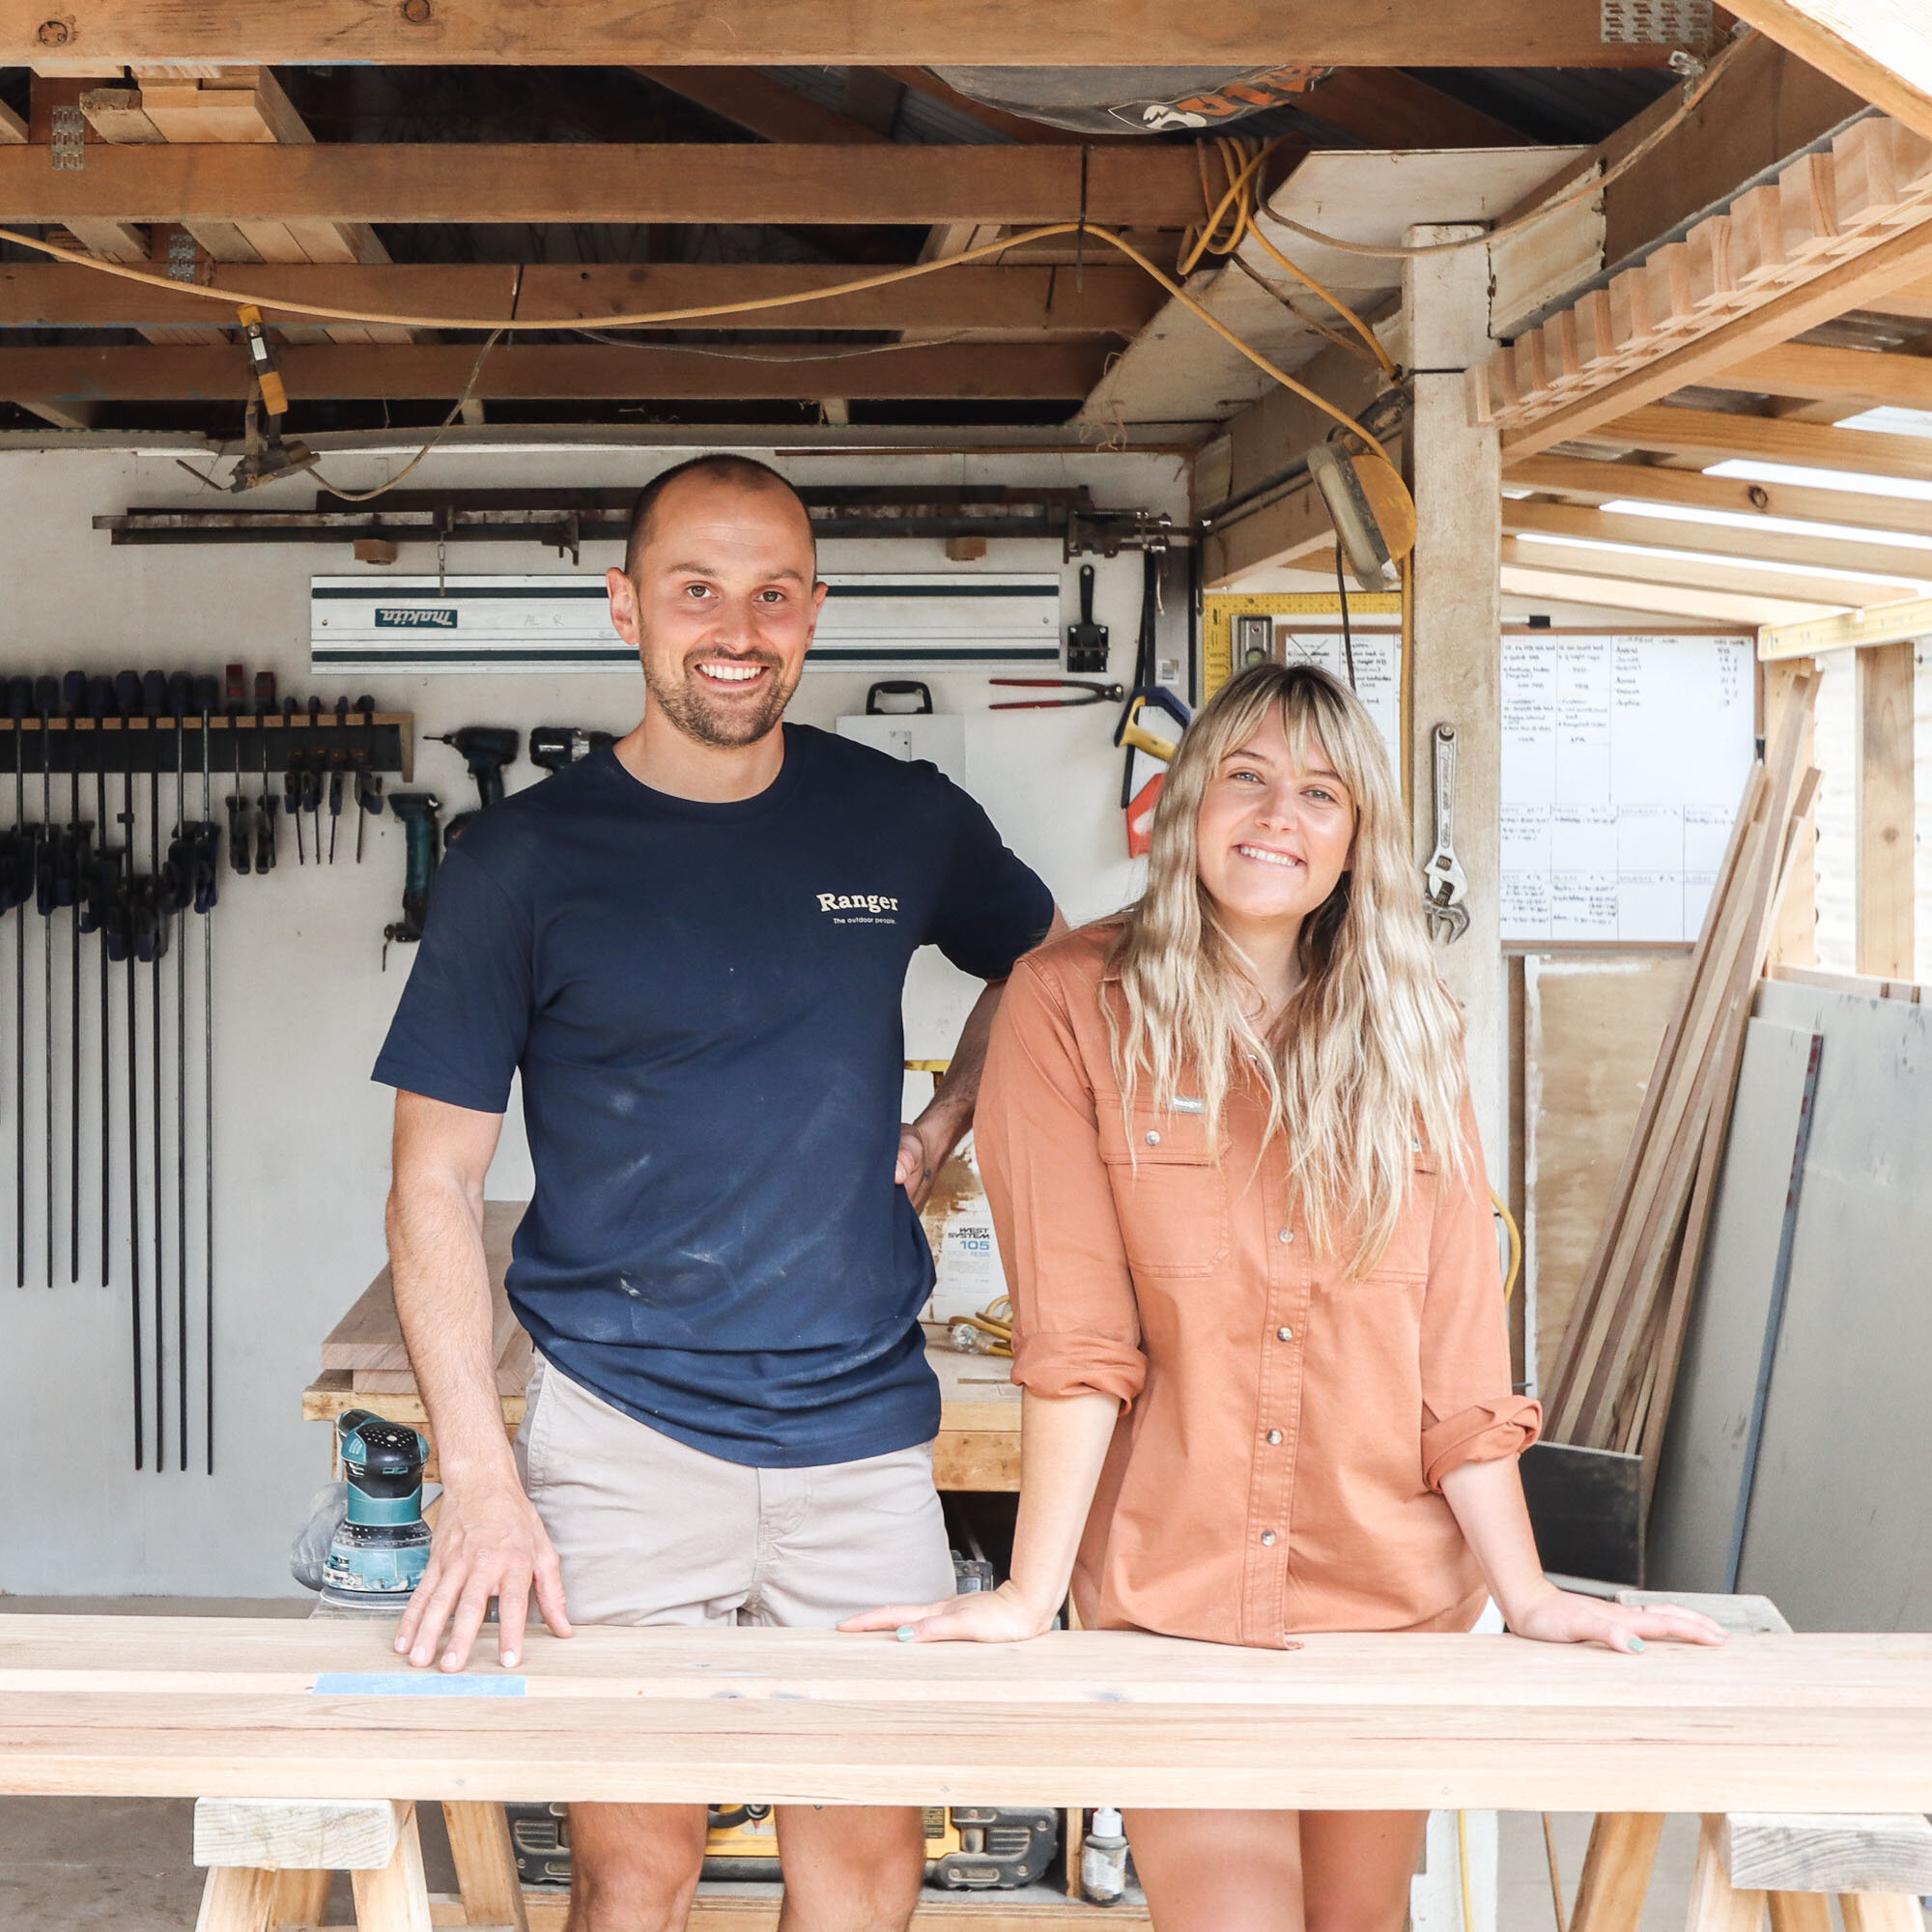
HEY! WE’RE AL + IMO
We’re a husband and wife duo, building our dream life one DIY project at a time. We are proudly self-taught, furniture-makers, business owners, designers and stylists.
DIY RUNS IN OUR DNA
We firmly believe what you learn should be shared which is why we created our Journal. A place where you can learn new skills and be inspired by other creatives.
Top Categories
ON THE JOURNAL
We installed four VELUX FS Fixed Skylights (780 x 1180mm) into our pitched Colorbond roof to replace LED panels and bring in natural light. See how we did it using custom The Skylight Warehouse custom flashing kits.
We recently bought an artwork from Bluethumb and i’ve curated a collection of my favourite finds. Plus, get 5% off your purchase with code alimo5. Discover original art by Aussie artists online.
If you’re building your own little library or looking for the best books for babies and toddlers, we’ve pulled together a list of our all-time favourites. These are the ones we’ve read on repeat - the ones that always end up back in little hands.
After years of searching for the perfect doona, we finally found it—Bonny Doona. Soft, breathable, and made for all seasons, this is the ultimate bedding upgrade for a restful sleep.
Discover how to style your home with art and collected objects in a way that feels personal, curated, and cohesive. Follow these five simple tips to create a space that tells your unique story.
Check out how we turned an old cubbyhouse we found on Facebook Marketplace into a cafe to inspire imaginative play!
See how we transformed $100 Facebook Marketplace dining chairs into timeless hardwood beauties. A sustainable upcycling project that saves furniture from landfill while creating unique, durable pieces.
Looking for a fresh, vibrant meal that’s quick to throw together and always a winner? This Vietnamese noodle salad is on high rotation in our house – perfect for lunch or dinner. Packed with crunchy veggies, fresh herbs and a zesty dressing, it’s light, satisfying, and full of flavour. Whether you’re feeding the family or hosting friends, it’s sure to hit the spot!
This year, our raised veggie garden has truly become one of our favourite spaces at the Good Day House. Designed by the talented Simon Taylor Landscape Design, this little patch of paradise has been a joy to nurture and watch thrive. It’s not just a garden—it’s become a place of connection, learning, and delicious rewards!
In this guide, we’ll walk you through the step-by-step process we followed to install the timber cladding, from prepping the structure to adding the final touches. With the right tools and careful planning, you'll get a professional-looking finish that’s built to last.
Imogen Gilchrist is a creative director, Squarespace website designer and social media strategist who loves good design & good people.


